Introduction
Velux windows are a popular choice for adding natural light, ventilation, and style to loft spaces and pitched roofs across the UK. When properly installed, they transform dark areas into bright, functional living spaces. However, despite their sleek design and functionality, leaks around Velux windows are one of the most common complaints from homeowners—especially after heavy rainfall or stormy weather.
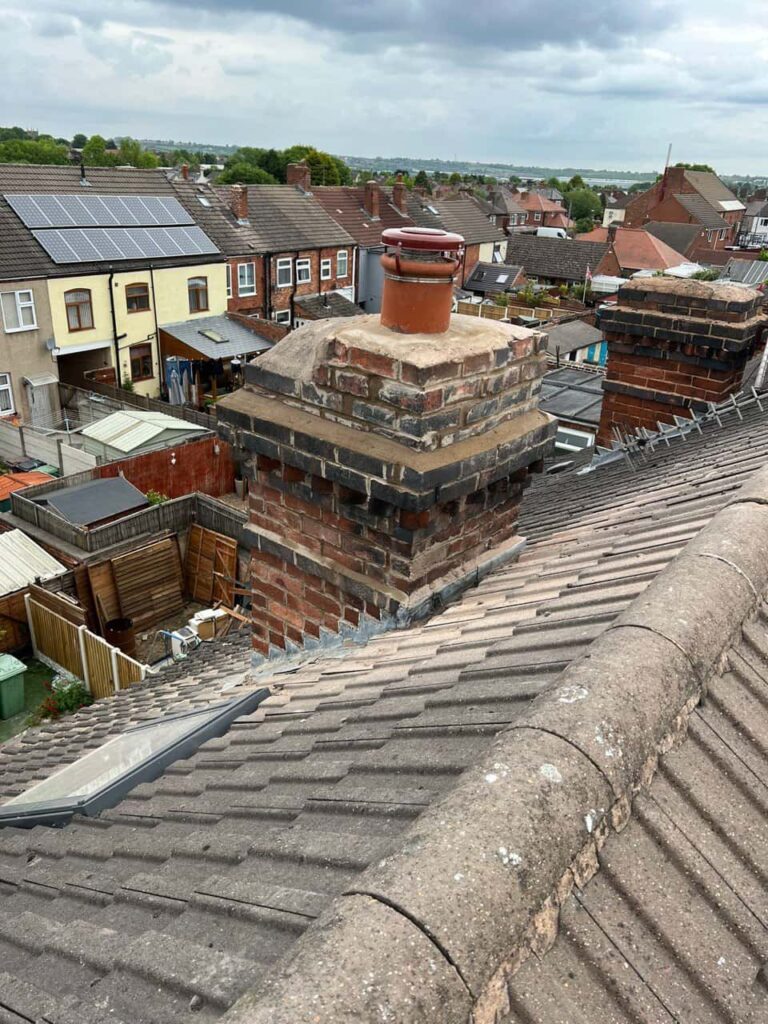
At Glenfield Roofing Repairs, we’ve seen firsthand how small installation mistakes can lead to big headaches. Serving homes across Glenfield and Leicestershire, our team often gets called in to fix leaks that could have been prevented if the job had been done correctly the first time. So, what exactly do professionals do differently to ensure Velux windows stay watertight for years?
It’s Not Just About the Window — It’s About the Roof
One major oversight in many leak cases is assuming the problem lies with the window itself. In truth, Velux windows rarely fail on their own. The issue is more often about how the window was integrated into the roofing system.
Professionals take a holistic approach, ensuring the surrounding roof structure, tiles, underlay and flashing all work together to keep water out. Poorly aligned tiles, inadequate sealing, or improper flashing are often the real culprits.
What Professionals Do Differently
Here’s what sets professional Velux window installations apart from the rest:
1. Use the Correct Flashing Kit
Velux manufactures specific flashing kits for different roof types, pitches, and materials. This isn’t a one-size-fits-all situation. Using the wrong flashing—or worse, attempting to reuse an old one—can immediately compromise the watertight seal.
Professionals always:
- Match the flashing kit to both the window and roof covering (e.g. slate, tile, metal)
- Ensure proper integration into the surrounding tiles or slates
- Follow the manufacturer’s installation guidance to the letter
2. Ensure Proper Slope and Positioning
Velux windows are designed to work within a certain roof pitch range, typically between 15° and 90°. If they’re installed on too shallow a slope, rainwater can pool around the frame rather than draining away.
Professionals will:
- Assess the roof pitch and only install Velux windows where conditions allow
- Adjust framing and underlay to support correct water flow
- Avoid positioning the window in valleys or drainage lines
3. Fit the Underfelt Collar Correctly
Underfelt collars help create a weatherproof seal between the roof membrane and the window. They direct water away from the frame and toward the correct drainage path on the roof.
Skilled installers:
- Properly integrate the underfelt collar with the roofing membrane
- Avoid punctures, folds or shortcuts that can lead to leaks
- Use adhesive-backed collars when required for better seal integrity
4. Seal and Insulate the Frame with Precision
It’s not just about the outside. A proper seal on the inside prevents condensation, cold bridging, and internal moisture problems.
Professionals:
- Install thermal insulation collars around the frame to prevent heat loss
- Use vapour barriers to prevent condensation issues internally
- Apply airtight seals that prevent draughts and future damp
5. Test and Inspect the Finished Job
A rushed or amateur installation might look finished from ground level, but small issues can go unnoticed—until it rains.
Experienced roofers will:
- Test the window with water before finishing the interior
- Recheck the tile or slate arrangement around the window
- Inspect for any signs of misalignment or lifting
Attention to detail in the final inspection phase is what separates a long-lasting installation from one that leaks within the first year.
Common Signs of a Poor Installation
If you suspect your Velux window hasn’t been installed to the highest standard, keep an eye out for:
- Water stains on the ceiling or walls near the window
- Condensation build-up even when the room is well-ventilated
- Draughts or a noticeable temperature drop near the frame
- Visible gaps around the flashing or frame on the outside
These may seem minor at first, but they’re early indicators of water ingress or poor insulation—both of which can worsen over time.
Conclusion
Velux windows are a brilliant investment for light, air and aesthetics—but only when installed with skill, care and technical precision. The difference between a leak-free installation and one that causes years of frustration often comes down to the installer’s understanding of roofing systems as a whole.
At Glenfield Roofing Repairs, we pride ourselves on delivering Velux window solutions that not only look good but also stand up to the British weather. Whether you’re planning a new installation or dealing with a persistent leak, our team in Glenfield and Leicestershire can help ensure the job is done right—from the first tile to the final seal. Get in touch with us today for expert advice and reliable service you can trust.
Call us on: 0116 502 2198
Click here to find out more about Glenfield Roofing Repairs
Click here to complete our contact form and see how we can help with your roofing needs.